Jerry Can Shoulder Bags
 After reading a post in MakeZine about Kanita shoulder bags (also in Gizmodo, & DesignSpotter), I was inspired to make three shoulder bags from 4.7 liter jerry cans for Christmas presents this year. The Kanita bags sell for a whopping €89, which works out to CDN$123 or US$105!! Granted if I took my labour into account, I would have to charge about that much too. But, as a DIY project, it works out to less than CDN$10 to make each of these.
Here now, is an overly detailed look at how I made these shoulder bags.
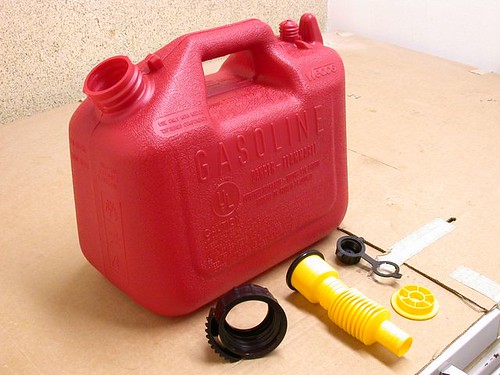
Begin with a new 4.7 liter jerry can.

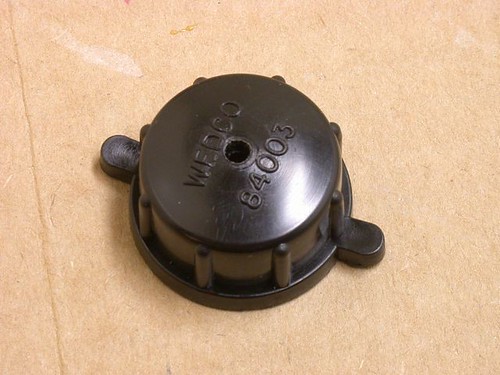
Remove the accessories.

Trim the child-proof tab off of the cap.

Use a sharp knife or chisel to get a nice finished cut.

Trim off the retention strap from the small cap.

Drill a 1/8" hole in the cap for the 2mm cord that will keep it attached to the shoulder bag.
 Pare down the stub inside the small cap with a 3/8" drill bit.
 Salvage the lip of the funnel.
 Use a knife to trim off the lip of the funnel.

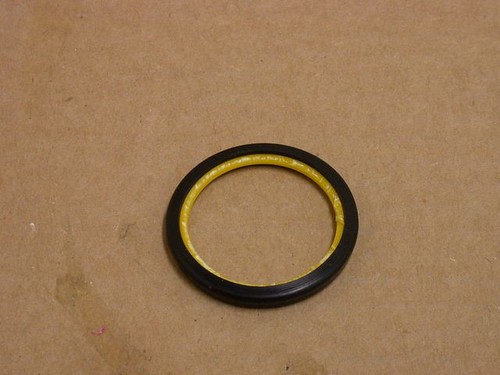
Pop the severed lip of the funnel onto the gasket.
 Drill a 1/8" hole in the center of the lid for the 2mm cord that will keep the cap attached to the shoulder bag. Stack the cap components together.
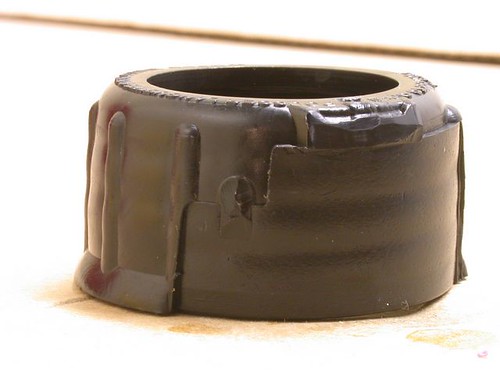
 Once assembled, weld the cap components in place with a soldering gun on the inside of the cap.
 Next, enlarge the rear spout to accept the knotted end of the 2mm cord that will pass through the cap.
 Bore out the rear spout with a 3/8" drill bit.
 The child-proof tab in the front needs to be removed.
 Using a knife or chisel, trim off the child-proof tab.
 Trim off the tail stub.
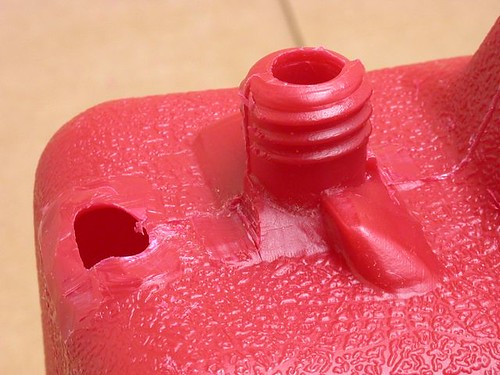
 Trim the beveled knobs flush to the rear spout.

 Cut both spouts with a knife so as not to remove any material. This will ensure the caps fit properly when finished.

 Use a jigsaw to saw the jerry can in half along the seam.
 Put the caps back on to check that enough material has been removed to allow for the thickness of the webbing. This may require extra trimming.
 Mark for stitching holes to be drilled along all cut edges, roughly every centimeter or so. Begin with high & low points, then fill in between.
 Mark slotted holes on the bottom for the tie-wrap hinges.
 Drill 1/8" holes where marked.
 Using a soldering gun, burn off a 10" piece of webbing to line the inside of the handle.
 Weld the ends of webbing together into a loop with the soldering gun. Use a steel plate to iron on, and a piece of cardboard to insulate the lower half of the webbing.
 The webbing welded together into a loop; welded side out.
 Turn this loop with the good side out.
 Clip the loop into position.
 Sew it into place using 100% nylon upholstery thread.
 Next clip the outer webbing into position.
 Burn a notch into the webbing around the rear spout.

Sew the remaining webbing in place with 100% nylon upholstery thread.
 Use the soldering gun to burn slots into the webbing for the tie-wrap hinges.
 Weave the tie-wraps through the slots in the two halves of the can and the webbing. Begin by passing them through the holes in the can first.

 The hinge is made by weaving the tie-wraps in a figure-eight pattern; much like a toy Jacob's ladder.
 Use a pair of pliers to tighten the tie-wraps all the way.
 Clip off the ends of the tie-wraps and melt down the stubs with the soldering gun. Then sew some fabric over the hinge area to prevent things dropping through. This is a piece of polar fleece.
 Burn off one meter of webbing for the shoulder strap, with the ends angled at a 45°.
 Rivet the strap to the jerry can through 1/8" holes in the can. To prevent the rivets pulling out of the plastic, support them with #6 washers. Use an awl to open up the webbing for the rivets.

Make sure the back of the strap attaches to the opposite half from the front so that both halves are supported by the strap.

Remove the accessories.
Trim the child-proof tab off of the cap.
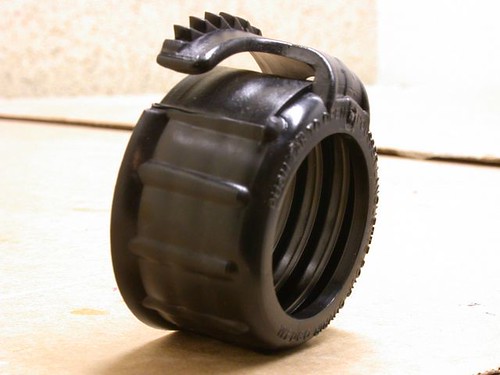
Use a sharp knife or chisel to get a nice finished cut.
Trim off the retention strap from the small cap.

Drill a 1/8" hole in the cap for the 2mm cord that will keep it attached to the shoulder bag.
 Pare down the stub inside the small cap with a 3/8" drill bit.
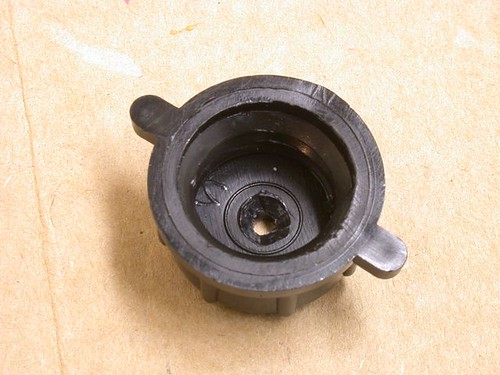 Salvage the lip of the funnel.
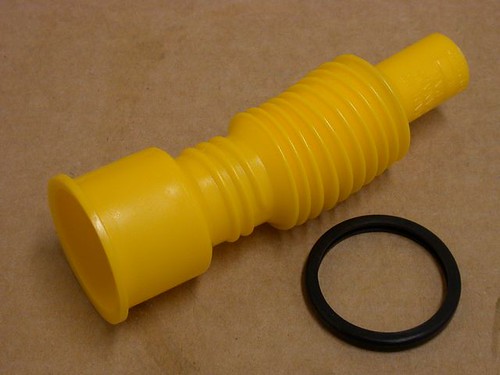 Use a knife to trim off the lip of the funnel.
Pop the severed lip of the funnel onto the gasket.
 Drill a 1/8" hole in the center of the lid for the 2mm cord that will keep the cap attached to the shoulder bag. Stack the cap components together.
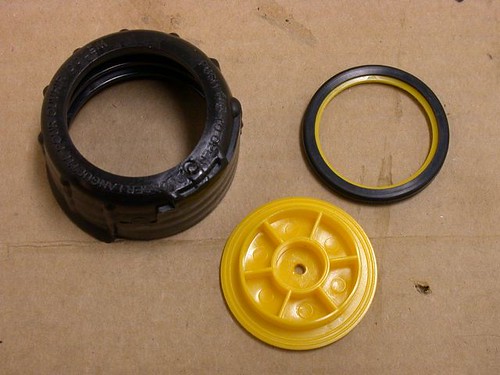 Once assembled, weld the cap components in place with a soldering gun on the inside of the cap.
 Next, enlarge the rear spout to accept the knotted end of the 2mm cord that will pass through the cap.
 Bore out the rear spout with a 3/8" drill bit.
 The child-proof tab in the front needs to be removed.
 Using a knife or chisel, trim off the child-proof tab.
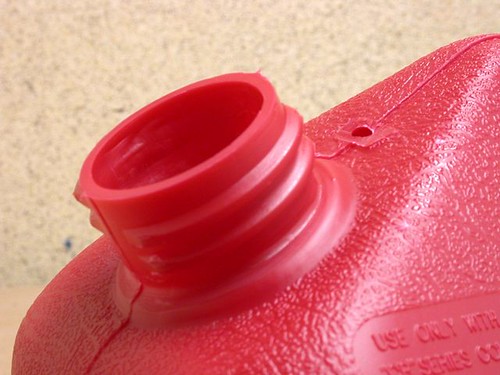 Trim off the tail stub.
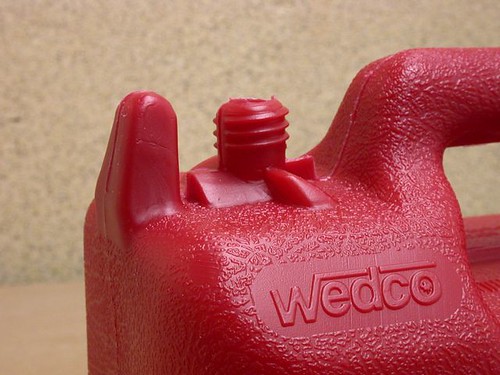 Trim the beveled knobs flush to the rear spout.
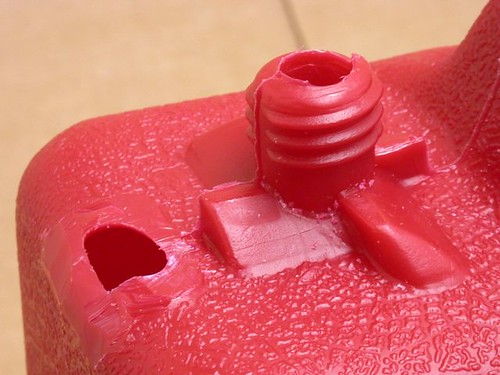
 Cut both spouts with a knife so as not to remove any material. This will ensure the caps fit properly when finished.
 Use a jigsaw to saw the jerry can in half along the seam.
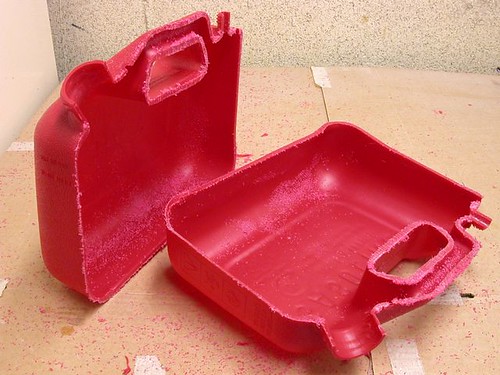 Put the caps back on to check that enough material has been removed to allow for the thickness of the webbing. This may require extra trimming.
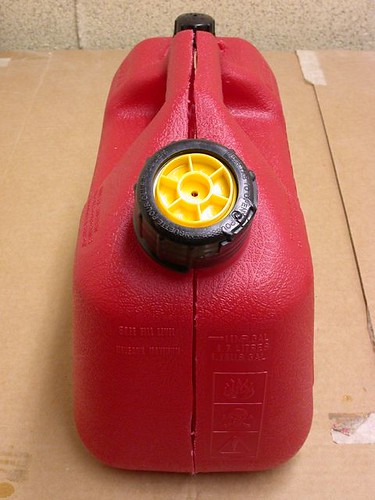 Mark for stitching holes to be drilled along all cut edges, roughly every centimeter or so. Begin with high & low points, then fill in between.
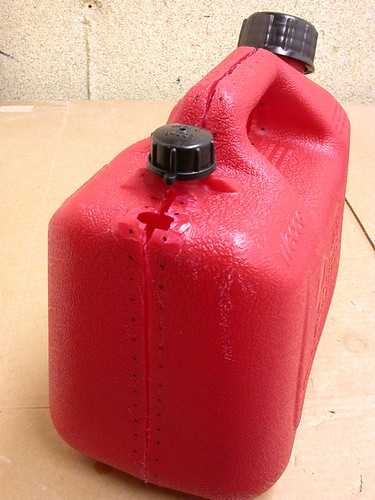 Mark slotted holes on the bottom for the tie-wrap hinges.
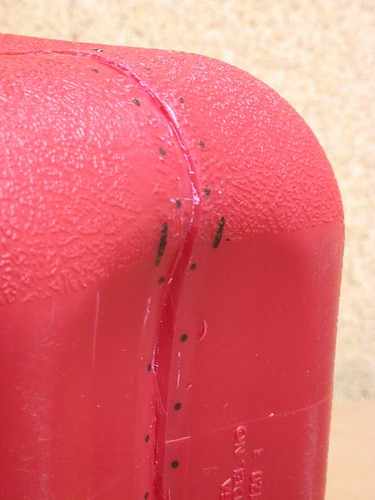 Drill 1/8" holes where marked.
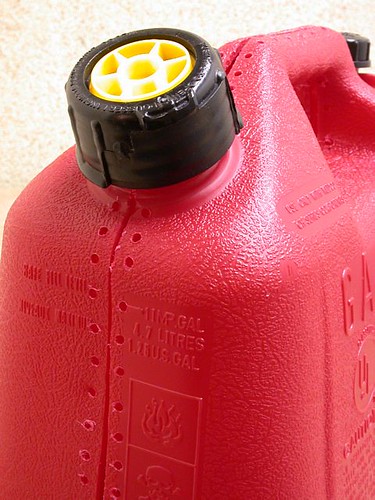 Using a soldering gun, burn off a 10" piece of webbing to line the inside of the handle.
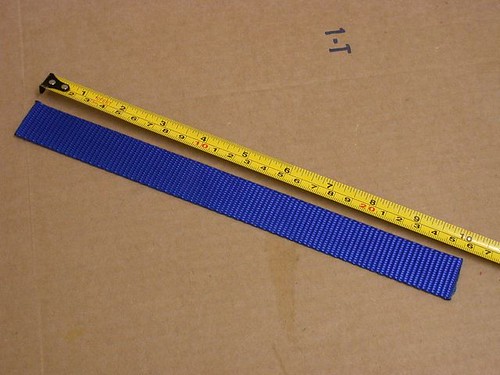 Weld the ends of webbing together into a loop with the soldering gun. Use a steel plate to iron on, and a piece of cardboard to insulate the lower half of the webbing.
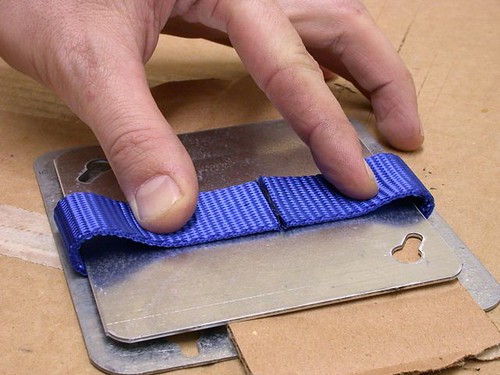 The webbing welded together into a loop; welded side out.
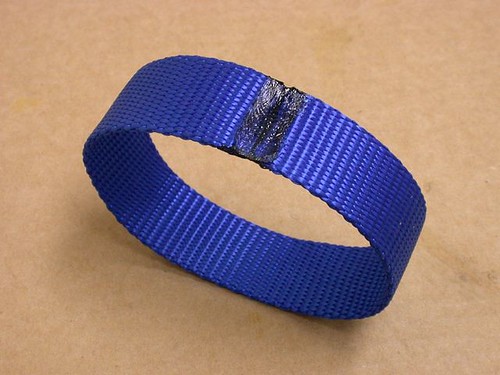 Turn this loop with the good side out.
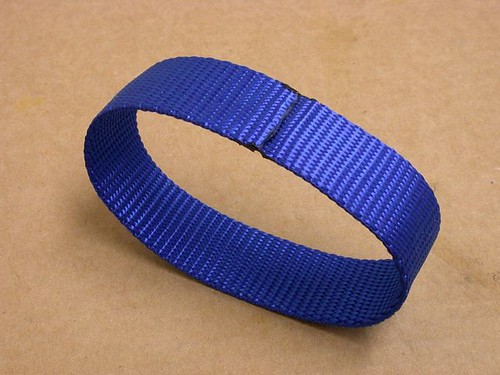 Clip the loop into position.
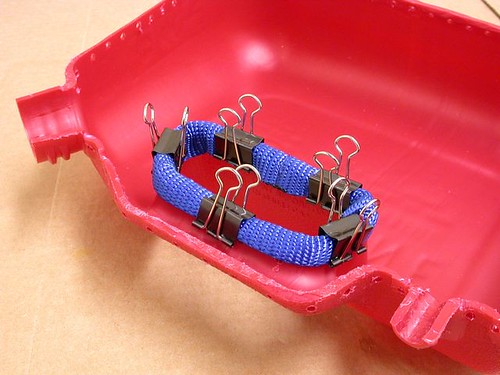 Sew it into place using 100% nylon upholstery thread.
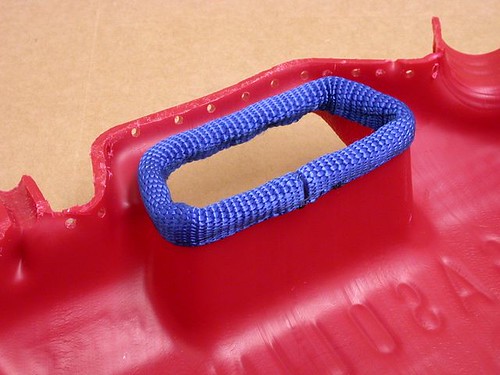 Next clip the outer webbing into position.
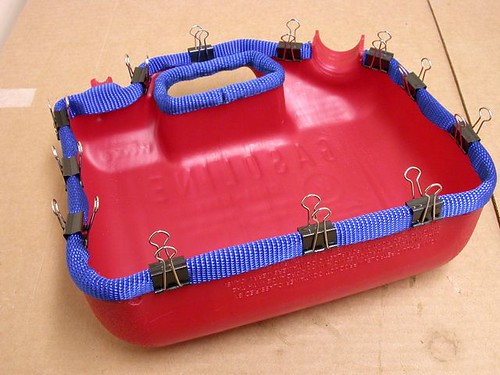 Burn a notch into the webbing around the rear spout.
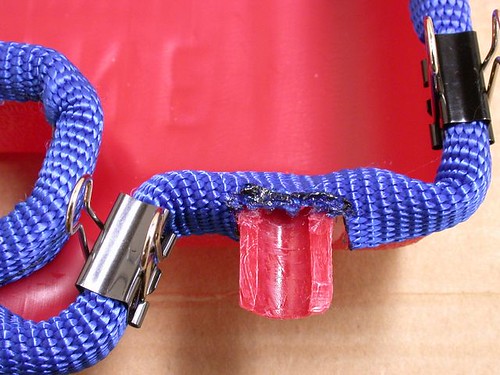
Sew the remaining webbing in place with 100% nylon upholstery thread.
 Use the soldering gun to burn slots into the webbing for the tie-wrap hinges.
 Weave the tie-wraps through the slots in the two halves of the can and the webbing. Begin by passing them through the holes in the can first.
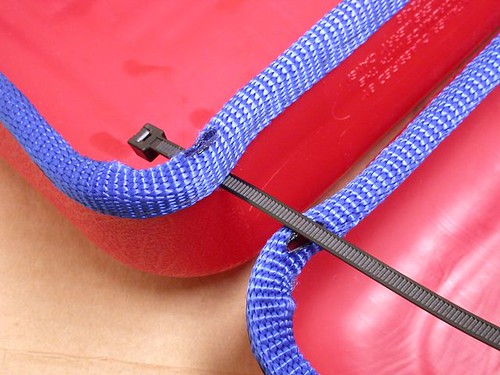
 The hinge is made by weaving the tie-wraps in a figure-eight pattern; much like a toy Jacob's ladder.
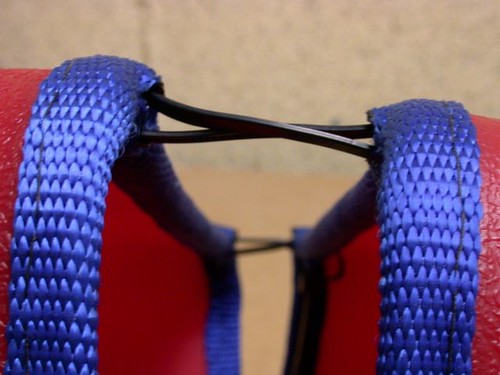 Use a pair of pliers to tighten the tie-wraps all the way.
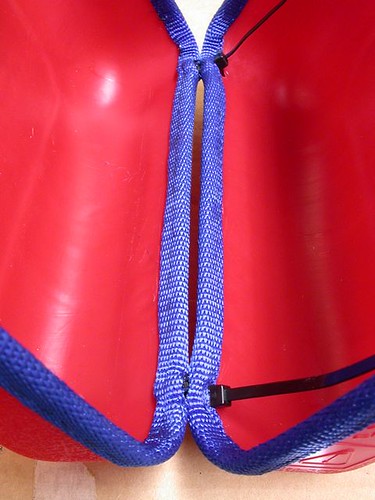 Clip off the ends of the tie-wraps and melt down the stubs with the soldering gun. Then sew some fabric over the hinge area to prevent things dropping through. This is a piece of polar fleece.
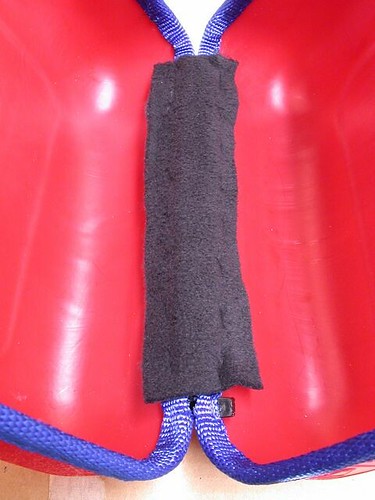 Burn off one meter of webbing for the shoulder strap, with the ends angled at a 45°.
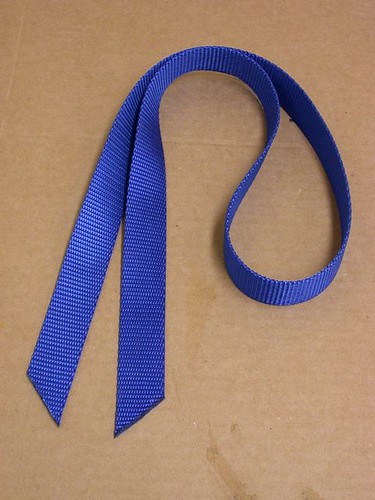 Rivet the strap to the jerry can through 1/8" holes in the can. To prevent the rivets pulling out of the plastic, support them with #6 washers. Use an awl to open up the webbing for the rivets.
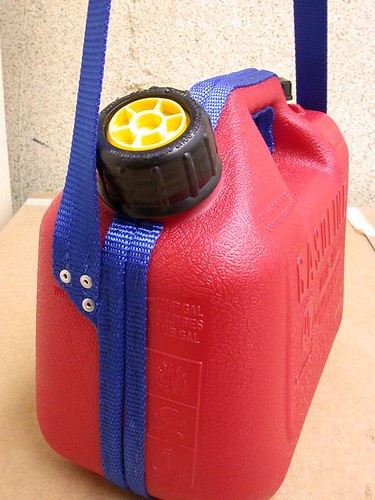
Make sure the back of the strap attaches to the opposite half from the front so that both halves are supported by the strap.
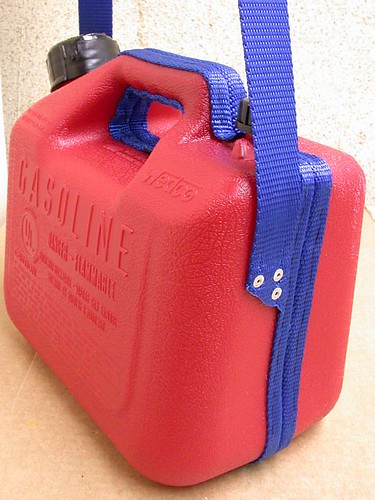
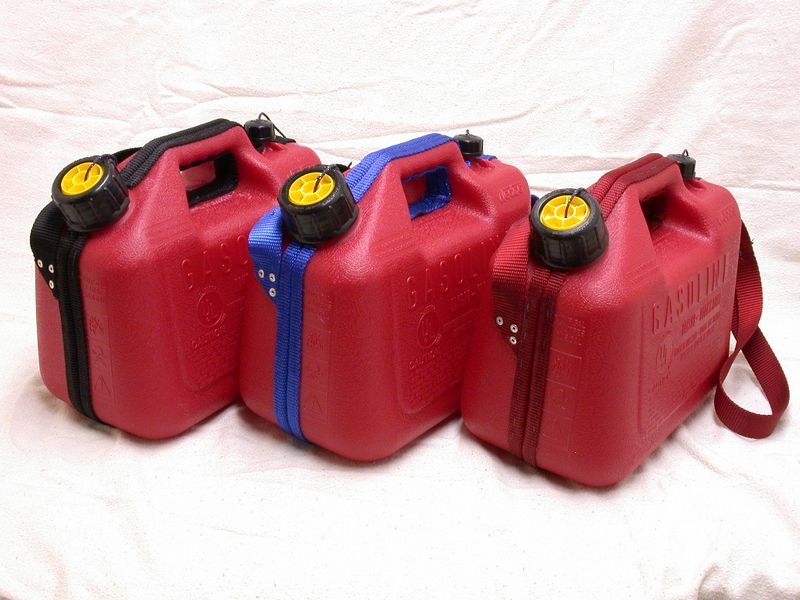
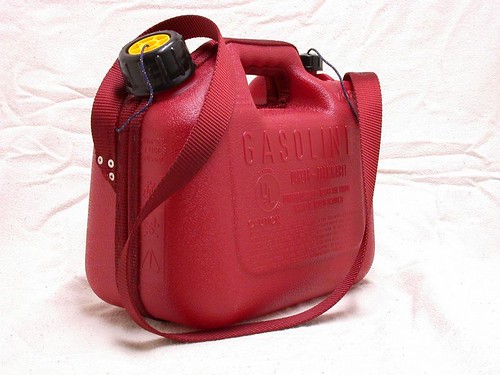
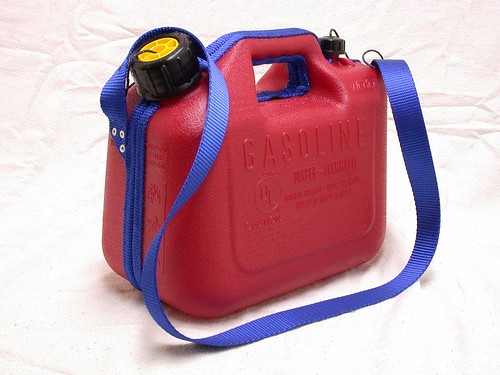
The finished shoulder bags!
In red:
 To open the bag, unscrew the caps.
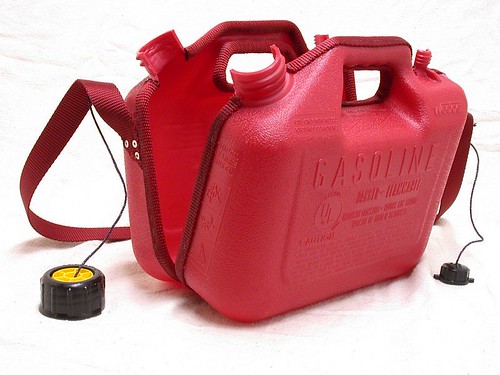
In blue:

posted by Rick at 10:01 pm
![]()
![]()


14 Comments:
Great DIY project congratz!
Those are some pretty awesome bags. I wish I had the skills to make some of my own...
Hmmmmm.....It occurs to me that if you did all of the trim in the same colour as the jerry can and left off the strap, you would have a much easier time hitchhiking, as motorists would assume that you ran out of gas and needed a lift to a gas station, thus making them more inclined to pick you up.
Hmmmmm.....It occurs to me that if you did all of the trim in the same colour as the jerry can and left off the strap, you would have a much easier time hitchhiking, as motorists would assume that you ran out of gas and needed a lift to a gas station, thus making them more inclined to pick you up.
Excellent directions!
Just don't try to fly with it :)
wow. that is all.
awesome diy project! way to impress the ladies!
i linked you on my site...
www.krushermedia.com
more specifically...
http://krushermedia.blogspot.com/2005/12/jerry-can-shoulder-bags.html
also, check out my own very simple diy project...
http://krushermedia.blogspot.com/2005/12/how-to-make-ring-out-of-soda-bottle.html
Very cool project. I'm thinking I could make some cheap motorcycle hard saddlebags using the same techniques. I think I'd go for some other (non-woven) trim material.
Fantastic. Have blogged it.
What an excellent jerry-can hack, you left no stone unturned in covering the various aspects of the process, brilliant, my hands were made for this type of tinkering.
I've just finished my home built recumbent..a copy of the "aalborg liggecykel" hhs_One, I was wondering what next?..I like to keep busy :)
What a pity I didnt see this before Xmas..
thanks all the same ..like it? ..I DO
I like them so much, I will link you on my spanish site:
www.basurillas.org
e-mail:info@basurillas.org
Great idea for you carry on luggage
nice! great idea!
reuse!
Post a Comment
<< Home